
Tips for photographing interior design
Take Time to Phase and Organise
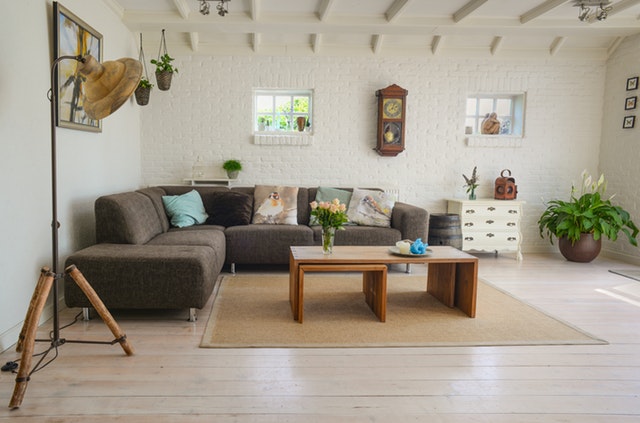
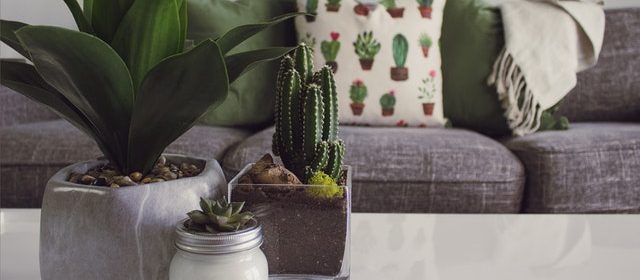
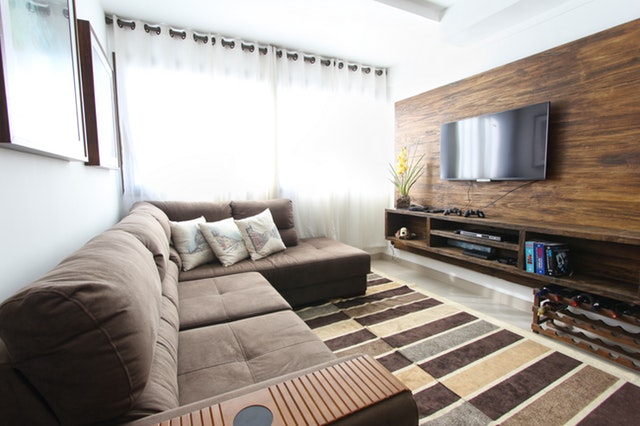
As soon as we walk through a space with no camera, our mind is quite good at ignoring just a small bit of clutter to find the large image. We can miss some novels on a custom made table in disarray, or a couple of coffee cups and crumpled blankets and say “wow, what a gorgeous room!” While we are good at filtering out that stuff while we are only walking through a space, it’s a really different story with a picture of a space. Everything has to be put quite intentionally, or the defects of this space become more evident. Pillows have a tendency to appear gloomy and dejected in a photo if you don’t have a moment to fluff them up, creases and jagged blankets on beds and custom made sofas can picture terribly, jagged rugs can ruin the ideal makeup by fighting your eye along with the major lines of a photo, and toasters and microwaves (as pricey as they might be) kill the photogenic qualities of most kitchens easily. If you’re not at liberty to remove and rearrange, I urge you to take five minutes to walk throughout the room to align and arrange everything possible.
Insert and Manage The Light
As far as photography is concerned, waiting for the ideal lighting is a trustworthy system to enhancing your own images. But occasionally, we do not have an option; occasionally scheduling does not work to our favour, or we have a customer that needs the pictures NOW, and we may not have the luxury of waiting for a couple of hours for the ideal golden lighting. There are a range of reasons why lighting that a room will enhance the appearance and texture of a picture. As soon as we do not incorporate our own light to a room, we’re frequently at the mercy of the climate, badly constructed exterior or interior lighting, and shadows from structural timber beams which are out of our control. As soon as we control the lighting, we are ready to communicate emotion and texture, add interest or emphasis to pick places from the photograph, add lifetime, bring out detail and colour, enhance contrast, and much more. If you truly wish to enhance the level of your architectural and interior photography, learning how to control lighting is most likely the single most important skill which you could get in your repertoire. Just how many effective portrait photographers shoot pictures using only natural lighting, without changing it at all? I would be prepared to wager a considerable amount of cash that the amount is very, very little, possibly a fraction of a percentage. Since adding light into a portrait is most likely among the greatest approaches to enhance the mood, emotion, feel, comparison, and effect of a portrait. Same is true for interiors and design. A lot of folks would say “well, I will get away with only using HDR.” And sure, it is possible to eliminate it, but you are going to be passing up a universe of possibilities, and of course the technical constraints which you will encounter if HDR as the sole way of shooting a distance. HDR will yield a muddy effect every single time. Learning how to tame the lighting and put in your own will radically enhance a picture within this setting.
Be Patient
Photographing structures and interiors from office spaces to home extensions, or anything which does not is an exercise in patience. There are lots of subjects that we’ve got the luxury of going to earn a much better photograph: we could take a model to a studio or transfer them in the colour, we could move a vehicle into better lighting, we can we can replicate a product for greater angles. Not so with structure: our choices can be rather restricted.
There are 3 things that I am willing to wait for
1) Most of all the ideal light. Since we are shooting static objects, if we really need to generate a spectacular shot, then we have got to await the light to function as best it could if we wish to make a jaw dropping photograph, even though we are going to include our own light into the scene. If you are not working together with lights, waiting before the scene is bathed in golden light or free from shadows created by timber frames can do amazing things for your own photos. If you’re using supplemental light, acquiring the very best possible all-natural lighting together with well-placed artificial strobe lighting may produce amazingly dynamic pictures that just are not possible otherwise.
2) Unless we have the luxury of cordoning off a road or place to maintain drifting bystanders and cars out of the way, we have got to wait around for it to occur alone. Waiting only five minutes for the region to be clear of those automobiles can go a very long way to ensuring the viewer’s eye remains on the topic and does not drift or get diverted by components which are not adding anything to the picture.
3) Only taking a deep breath and double checking everything. There’s frequently a lot happening in an architectural or interior photo. A Few Things That I watch out for include:
- Leaves, garbage, other detritus on the floor
- Crooked lampshades, irregular bedspreads
- Misaligned furniture, rugs, and seats
- Crooked vertical lines in my essay
- Reflections of items that will be hard to eliminate in place
Taking a moment to clean up these things will save endless frustration and hours in photoshop after. Believe me I have discovered the hard way. I have a checklist that I take with me on every take, which compels me to slow down and try to grab any problem areas on location whether it’s a coffee shop, house extension, outdoor space or even a carpark.